Breakfast Recipe:
Bacon and Cheddar Popovers

Next time I make this recipe, I plan on adding Jimmy Dean sausage and more cheese.
Ingredients:
- 1 2/3 cups of milk (I use whole milk, but you are welcome to use whatever you want)
- 1 1/2 cup all-purpose flour
- 3 large eggs
- 2 tsp salt
- 2 tsp of season all
- 1 tsp of black pepper
- 1/4 tsp cayenne
- 2 cups shredded Cheddar cheese
- 1/2 cup finely chopped scallions (about 4 scallions)
- 10 bacon strips, cooked crisp and coarsely chopped
Directions:
Preheat oven to 450 degrees. Spray a muffin pan with nonstick spray. Or you can place cupcake liners in the muffin pan. I prefer not using the liners.
Combine milk, flour, eggs, salt, season all, black pepper, and cayenne in a bowl. Mix until mixture is smooth.
Combine milk, flour, eggs, salt, season all, black pepper, and cayenne in a bowl. Mix until mixture is smooth.


Stir 1 1/2 cup Cheddar, 2/3 of the chopped bacon, and the scallions into batter. Spoon 1/3 cupfuls of batter into prepared muffin pan. Evenly sprinkle the remaining shredded cheese and bacon over all the muffins.


Bake popovers 15 minutes. Reduce oven to 375 degrees and bake until golden brown, an additional 10 minutes or so. Serve hot.

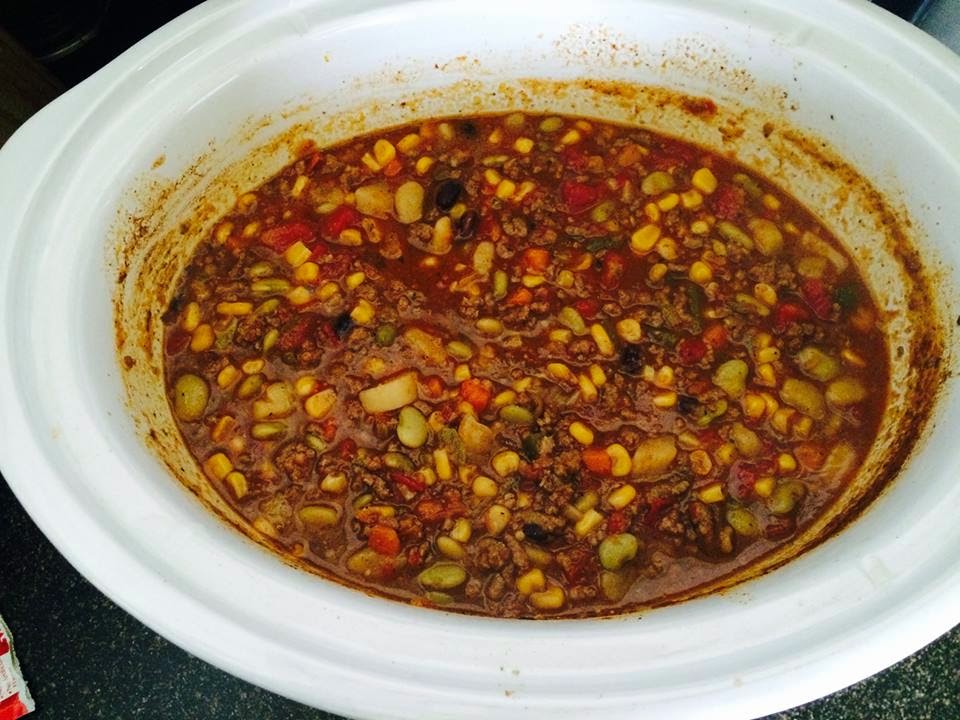
Dinner Recipe: Crockpot Enchilada Soup
Ingredients:
3 tbsp of Canola Oil
1 large onion, diced
1 small green bell pepper, diced
Black Pepper to taste
1 can (11 ounce) Ro-tel diced tomatoes & green chile's with the juices
1 can of Mexicorn (drained)
1 can of Lima beans (drained)
1 can of diced tomatoes with juice
1 can of seasoned okra, corn, and tomatoes
1 packet of ranch seasoning mix
1/2 packet of McCormick spicy taco seasoning
1 1/2lb of ground beef
Shredded Cheese
Sour Cream (for topping)
Ritz crackers or tortilla chips
Directions:
1. Place canola oil in a skillet over medium temp
2. Brown ground beef. Add seasoning to taste (season all, garlic powder, black pepper, crushed red pepper). Add onions and green pepper to ground beef.
3. Meanwhile, add all canned food items to the slow cooker. Add about a 1/2 cup of water to the slow cooker.
4. When ground beef is done cooking, drain oil and then add to slow cooker. Season pot with season all, black pepper, and garlic. Add 1/2 packet of the taco seasoning mix (I used the spicy seasoning) and 1/2 packet of the ranch seasoning mix. Mix well.
5. Cook on low temp for 6-8 hours. Stir occasionally and taste test to see what additional seasoning you need.
6. Serve with sour cream, shredded cheese, and crackers or tortilla chips
Dessert Recipe: Butterfinger Cake

For the past month, I have seen a co-worker with two pans of butterfinger cake. She makes it for her son's football team. Every time I see it, I just want to take a huge bite out of it. I have to thank Kerry for inspiring me to make this dish. I am not sure if mine is made the way Kerry makes hers, but I thought I would give it a try. Nick has already sampled it four times and has given me his approval.
Ingredients:
1 box of yellow cake mix (and ingredients for the cake)
1 can sweetened condensed milk
1 (16oz) jar caramel sauce
1 container of cool whip
3 Butterfinger candy bars, crushed into large crumbs
Directions:
- Bake your cake according to package directions in a rectangular baking pan.
- Let your cake cool for 10 minutes. Then use a fork to poke holes in the top of the cake. Make sure to poke holes over entire cake.
- Pour the can of condensed milk over the top of the cake, and spread evenly.
- Then, pour the jar of caramel sauce over the top of the cake, and again spread evenly over cake.
- Sprinkle some of the crushed butterfinger evenly over the cake.
- Place cake in the refrigerator for 1 hour or until cool.
- Once cool, spread the cool whip evenly over the cake.
- Sprinkle remaining crushed Butterfinger crumbs on top of the cool whip.
- Return to refrigerator until time to serve, and store covered in refrigerator after serving.
- Enjoy!
No comments:
Post a Comment